Manual annotations
At any point you can apply manual corrections to annotated plates, DDA disks, E-Test strips, and E-Test ZOI shapes by selecting the image and clicking the button within the annotation control.
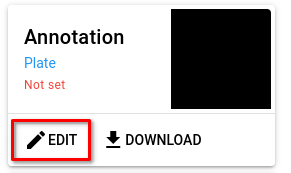
This will open an interactive editor where you can draw and erase the mask (highlighted as red color) over the image.
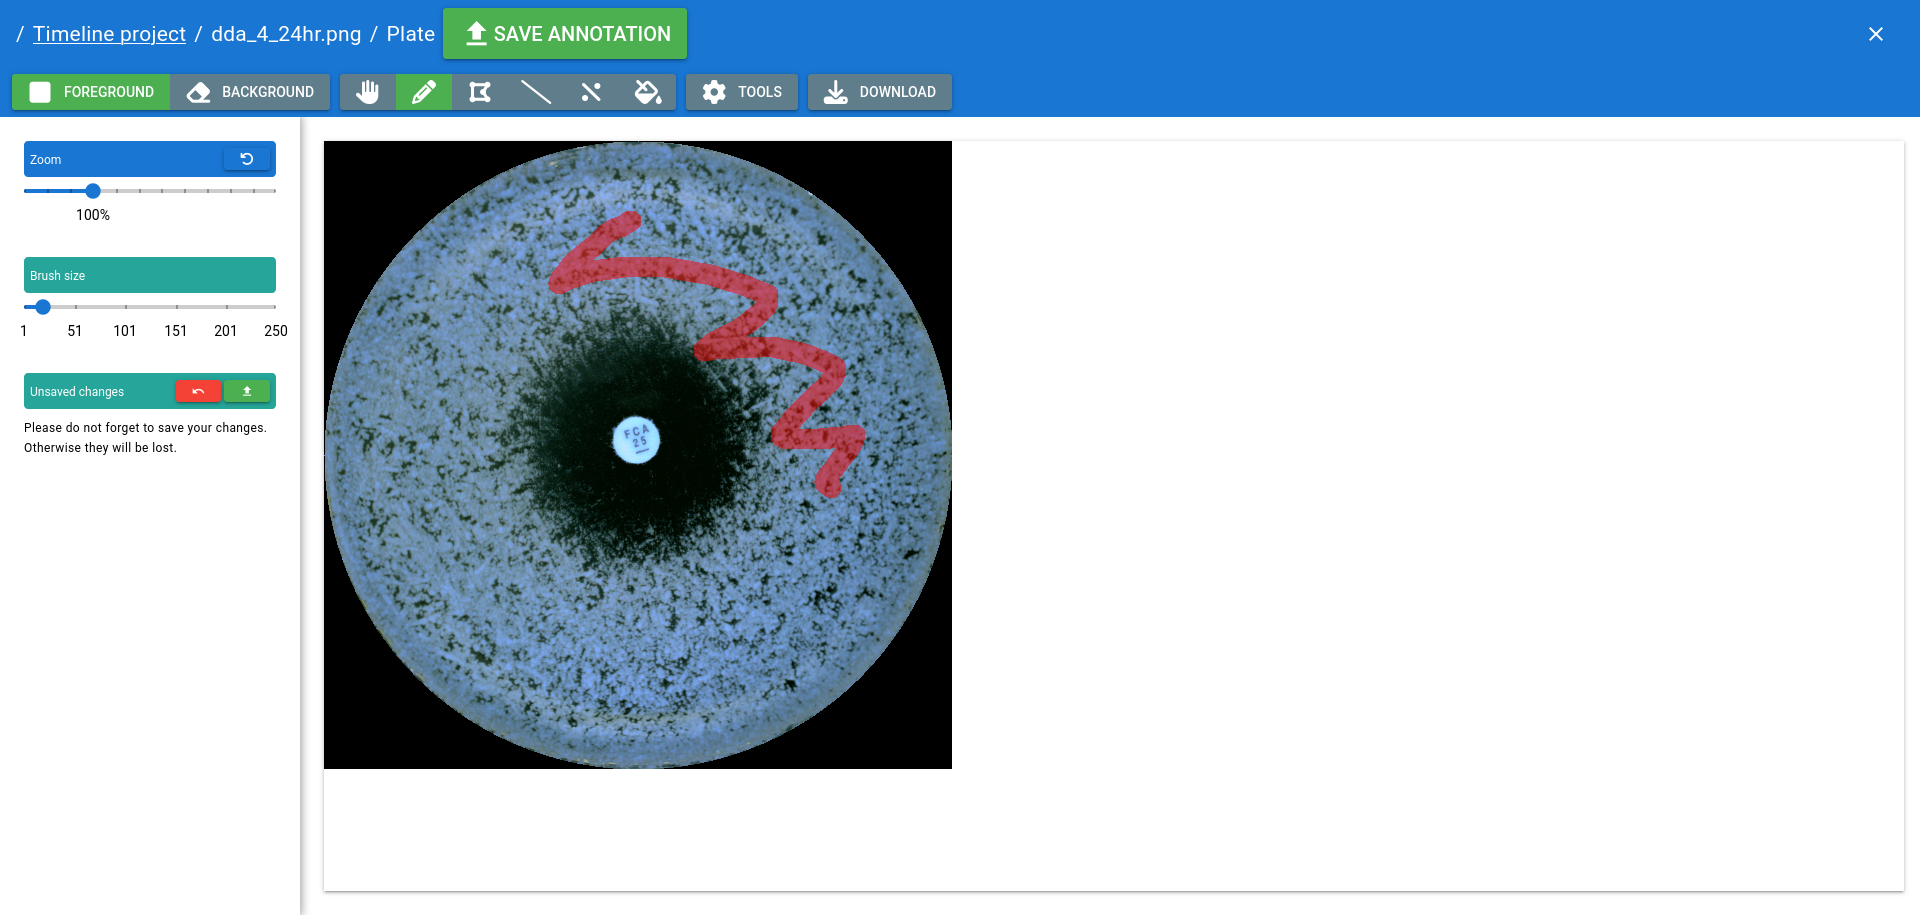
Navigation
Use your mouse to navigate around the editor:
- Drag using left mouse button
Pan image (only if ✋ tool is enabled)
- Drag using middle mouse button
Pan image
- Mouse scroll
Zoom in and out
Tools

➊ Color selection
Allows you to select the color that will be drawn by either selecting the or option.
➋ Pan
Allows you to pan the image with the left mouse button.
➌ Pen tool
The pen tool allows you to draw/erase the mask just like in any drawing application. On selecting the tool as control will appear on the left-hand side.
❹ Polygon tool
The polygon tool allows you to draw/erase [filled] polygon outlines, which are useful for annotating E-Test strips.
❺ Line tool
The line tool allows you to draw/erase a line with an adjustable thickness.
❻ Mirror tool
The mirror tool is useful for creating symmetric annotations. Just draw the symmetry axis and the editor will mirror the other parts of the image according to the axis.
❼ Fill tool
Allows you to flood-fill the foreground or background color on the selected pixel.
Additional functions
- Tools | Reset view
Resets the default zoom and pan if you lost your image
- Tools | Clear
Erases the mask
- Tools | Restore saved state
Restores the mask to the last saved state, discarding all changes
Saving annotations
When you are finished, click the button to upload the results.